This user guide provides a how-to set of instructions for accessing the various features that CPM offers to an end-user by means of a web browser based application.
1. Login
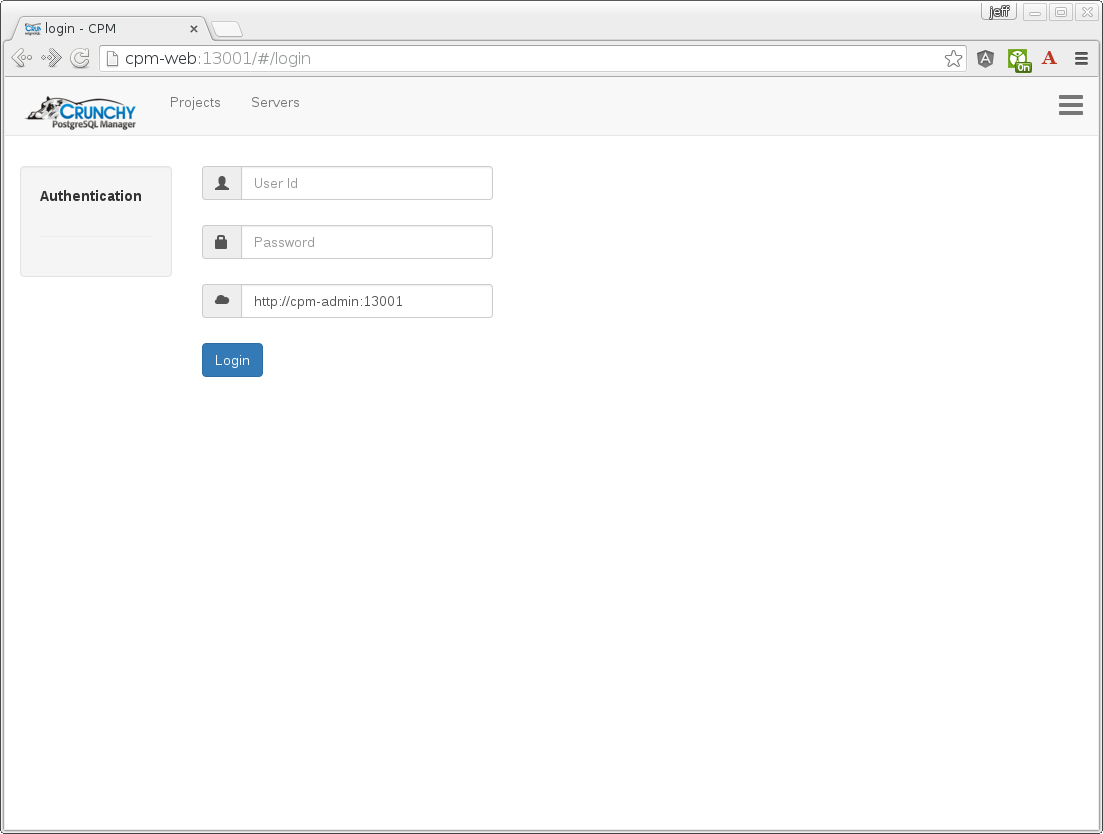
On the login page, enter cpm for the User Id value and cpm for the Password value. The value of the CPM Admin URL defaults to http://cpm-admin:13001. Depending on your deployment you will need to change the CPM Admin URL to another value. Click on the Login button to authenticate.
2. Navigation Bar
At the top of each page is a navigation bar, you can navigate to the following locations using the navigation bar:
-
Projects - the set of user defined and default projects
-
Servers - the set of user defined servers in use by CPM
-
Settings - at the far right of the page, the CPM settings defined by the CPM administrator
-
Logo - clicking on the Crunchy logo will take you to the Health Check page
3. Monitoring - Health Check
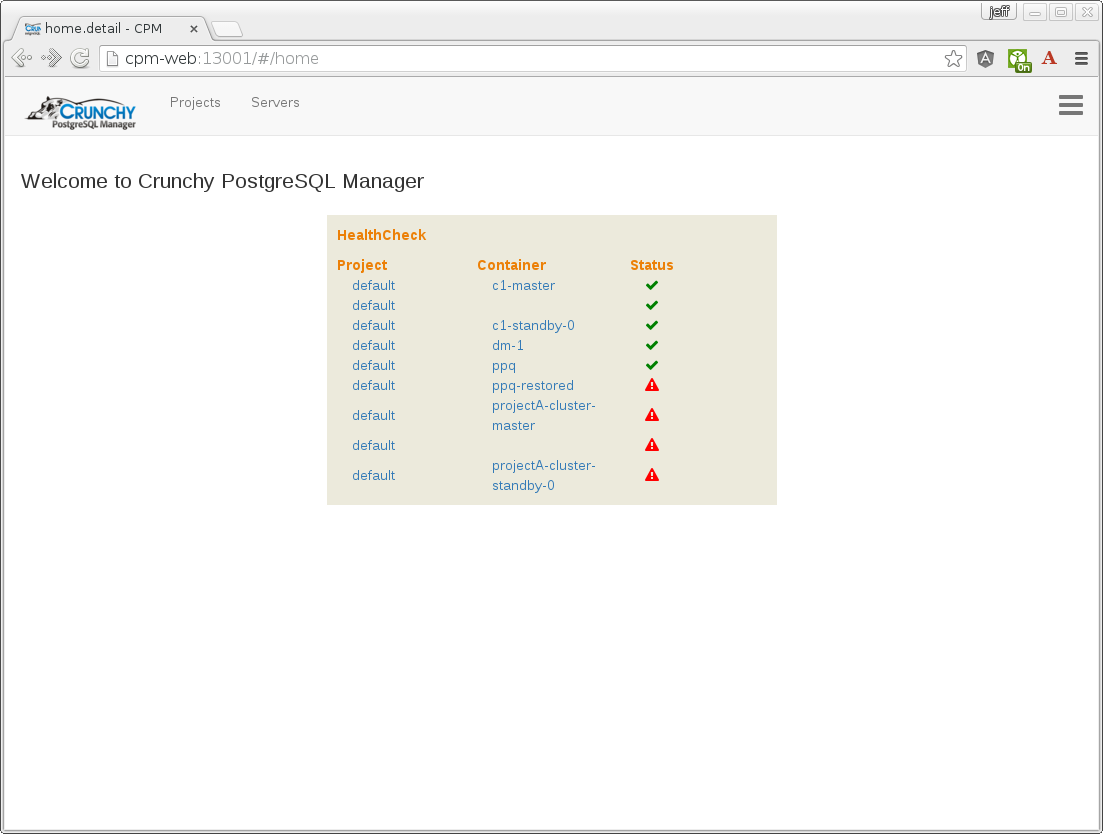
On the Health Check page, you will see a snapshot of database containers and their last recorded status. You can navigate to a project or container using the hyperlinks presented on the page. The CPM Collect process collects health check metrics on a schedule that is used for displaying on the Health Check page.
4. Projects
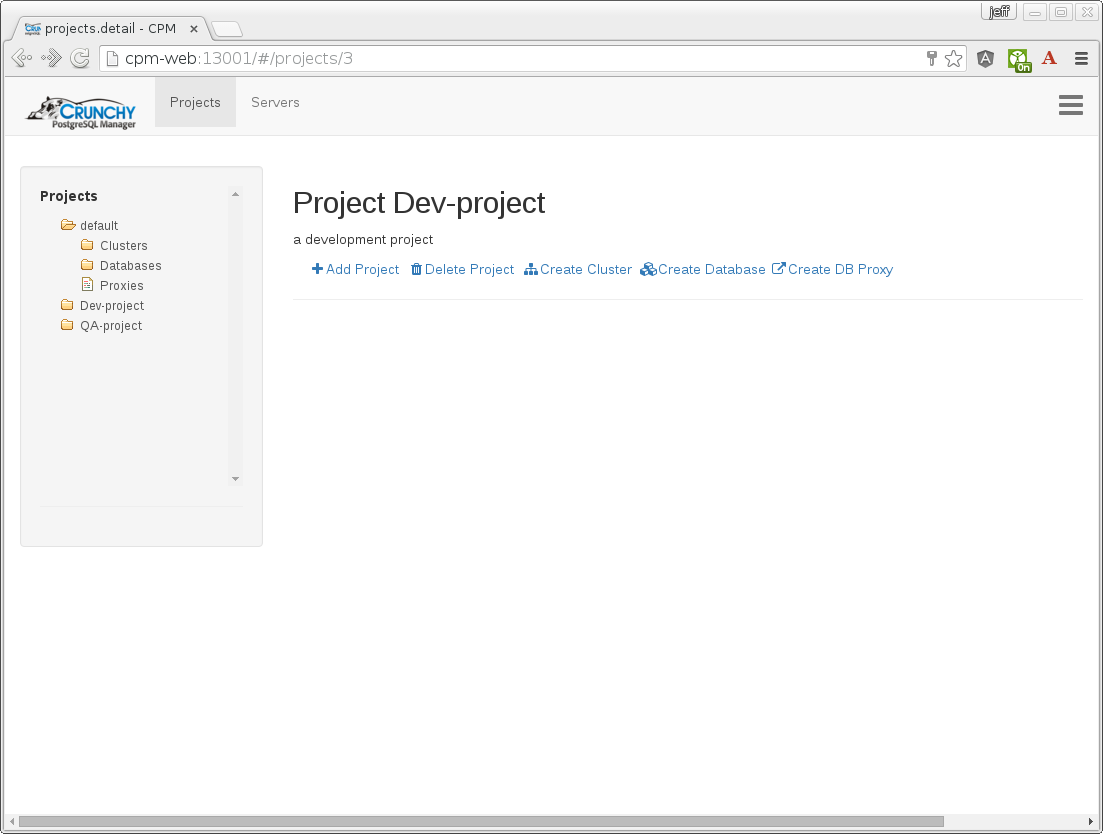
On the Projects page, you will see a default project defined when CPM was installed. From this page, you can create new projects that have meaning within your installation (e.g. geographic, business unit, lifecycle, etc.)
Database containers are grouped within a project. Database container names must be unique across all projects in the current release of CPM.
The project page has hyperlinks that allow for the following:
-
Add Project - create a new project
-
Delete Project - delete an existing project and any containers within the project
-
Create Cluster - create a database cluster within this project
-
Create Database - create a single database within this project
-
Create DB Proxy - create a database proxy within this project
4.1. Projects - Create Cluster
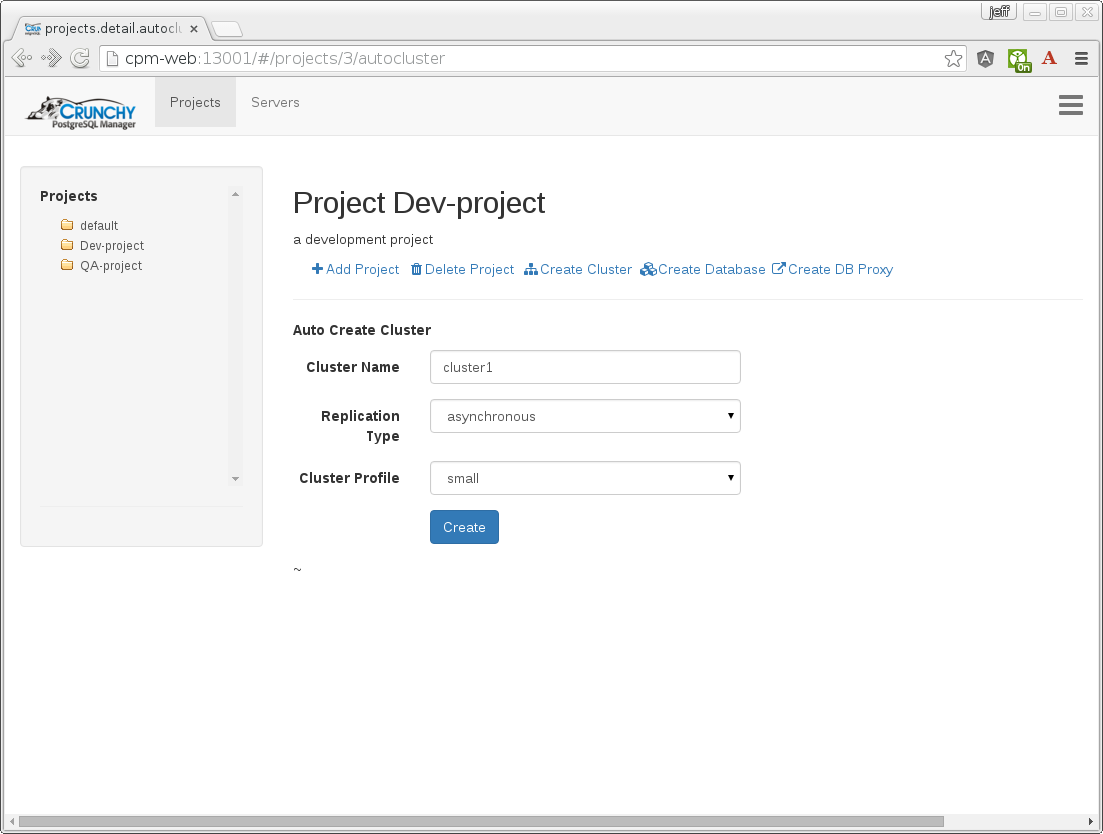
On the Projects Create Cluster page, you enter the following information to create a new Database cluster:
-
Cluster Name - unique name prefix given to master, slaves, and pgpool containers that make up a database cluster
-
Replication Type - select either async or sync replication type
-
Cluster Profile - select either small, medium, or large. This value will determine the size of the cluster to be created including the number of slave containers and the server capacity used when deploying a container
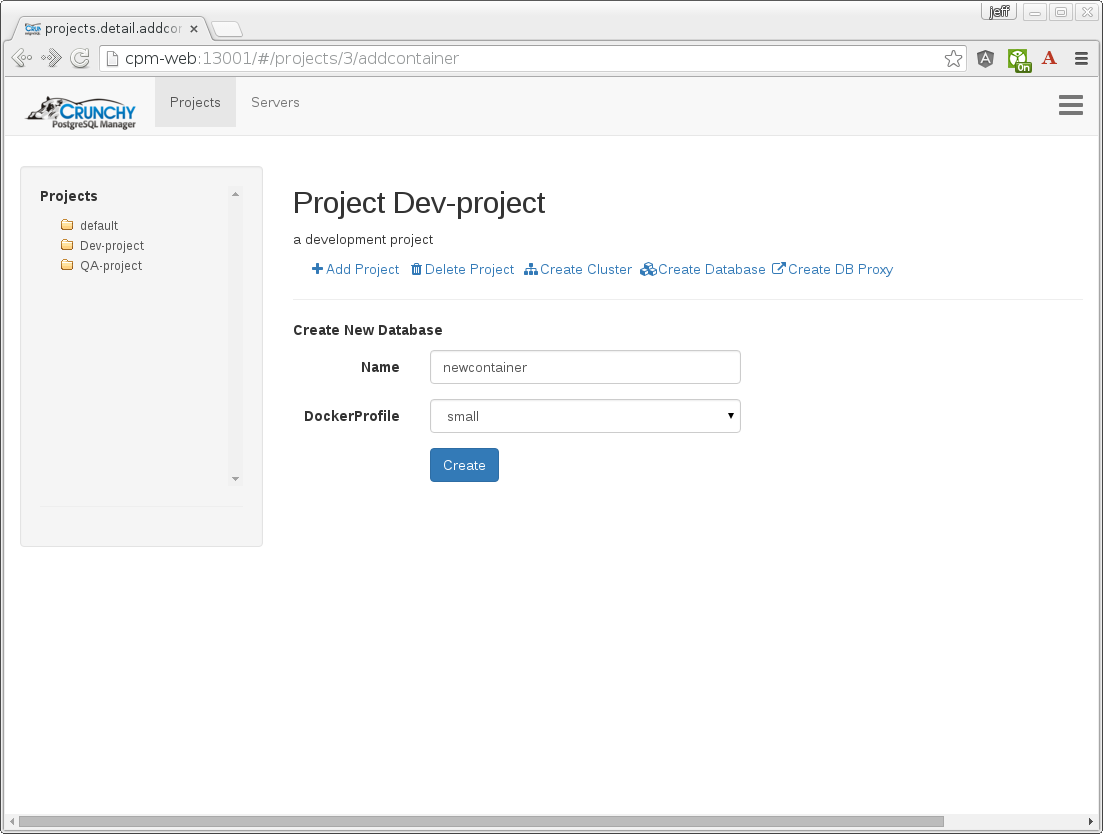
4.2. Projects - Create Database
On the Projects Create Database page, you enter the following information to create a new Database:
-
Name - unique name given to database container
-
Docker Profile - select either small, medium, or large. This value will determine the size of the database to be created and the server capacity used when deploying the container
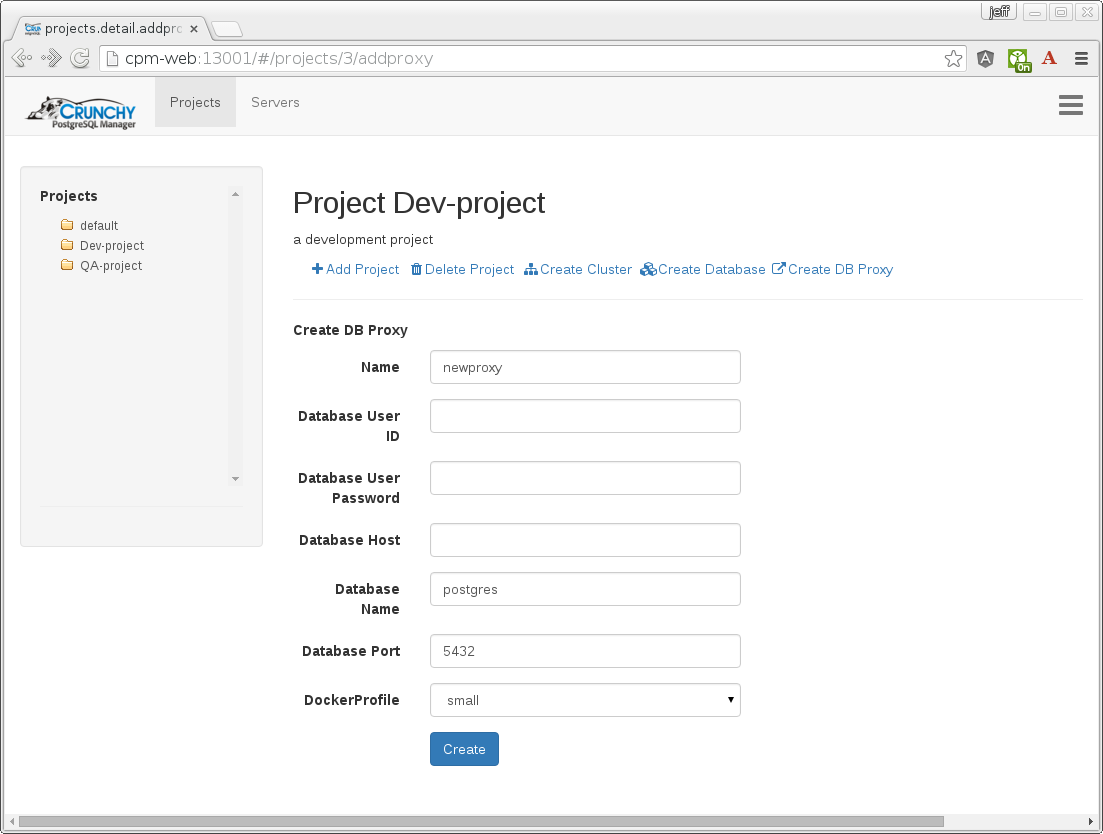
4.3. Projects - Create Database Proxy
On the Projects Create Database Proxy page, you enter the following information to create a new Database proxy:
-
Name - unique name given to database proxy container
-
Database User ID - the Postgresql user ID to be used when connecting to the actual database
-
Database User Password - the Postgresql user password to be used when connecting to the actual database
-
Database Host - the host name or IP address to be used when connecting to the actual database
-
Database Name - the Postgresql database to be used when connecting to the actual database
-
Database Port - the Postgresql port to be used when connecting to the actual database
-
Docker Profile - select either small, medium, or large. This value will determine the size of the database proxy to be created and the server capacity used when deploying the container
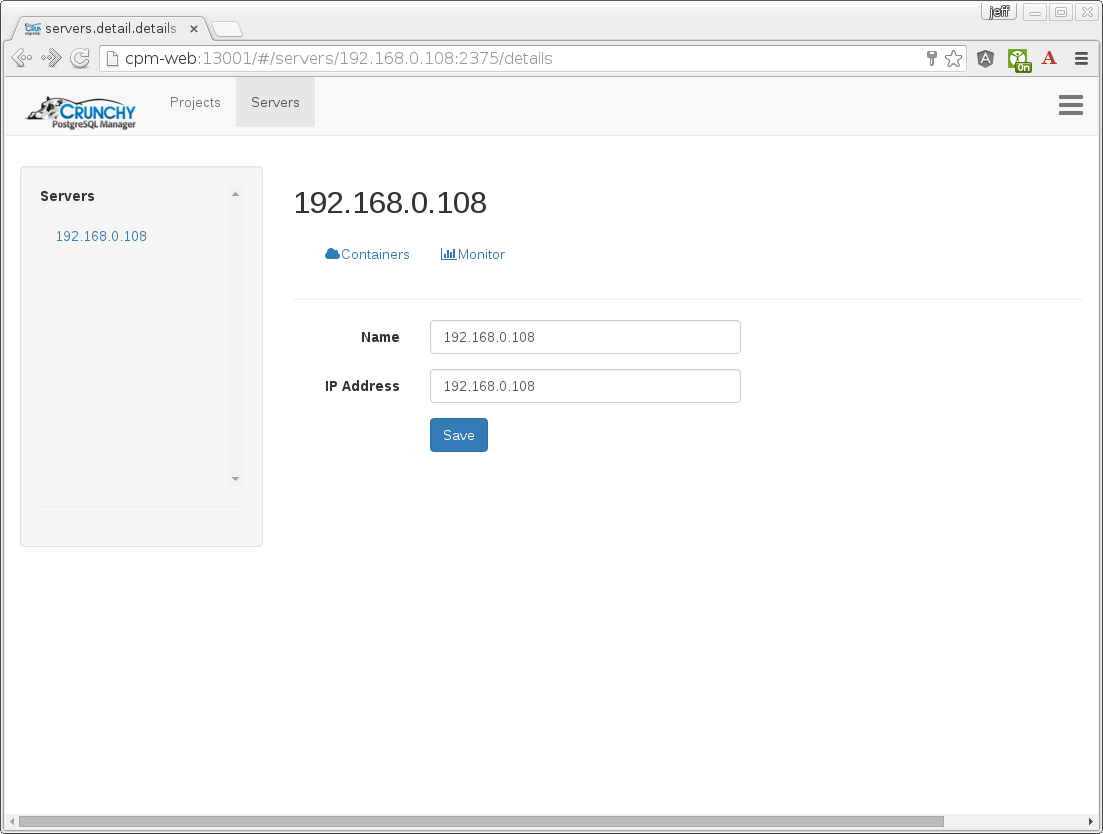
5. Servers
On the Servers page, you will see a list of servers defined within CPM. The list of servers is determined by the Docker Swarm configuration being used by CPM.
The servers page has hyperlinks that allow for the following:
-
Containers - list the containers deployed on a server
-
Monitor - display a server monitoring metric
5.1. Servers - Containers
On the Servers Containers page you will see a list of containers that were deployed to the selected server, from this list, you can navigate via hyperlink to the container detail page.
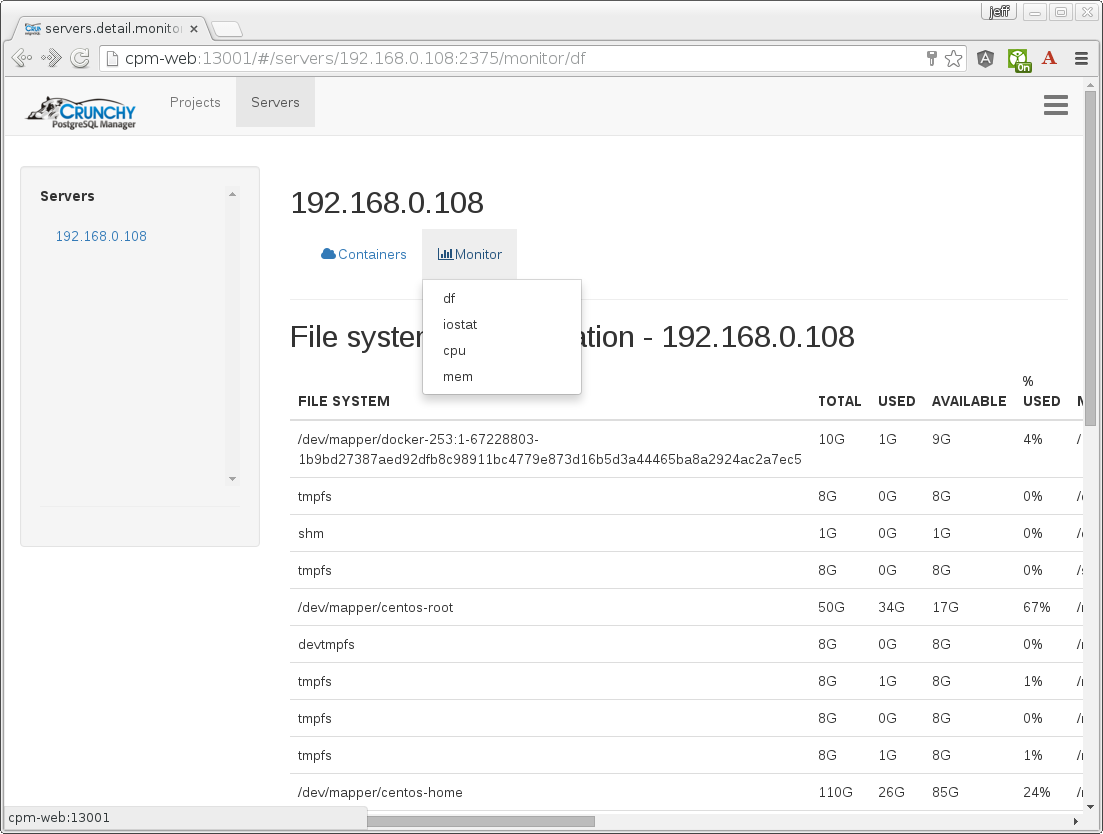
5.2. Servers - Monitoring
On the Servers page, you can select the Monitor drop down menu and select various server monitoring metrics that can be displayed.
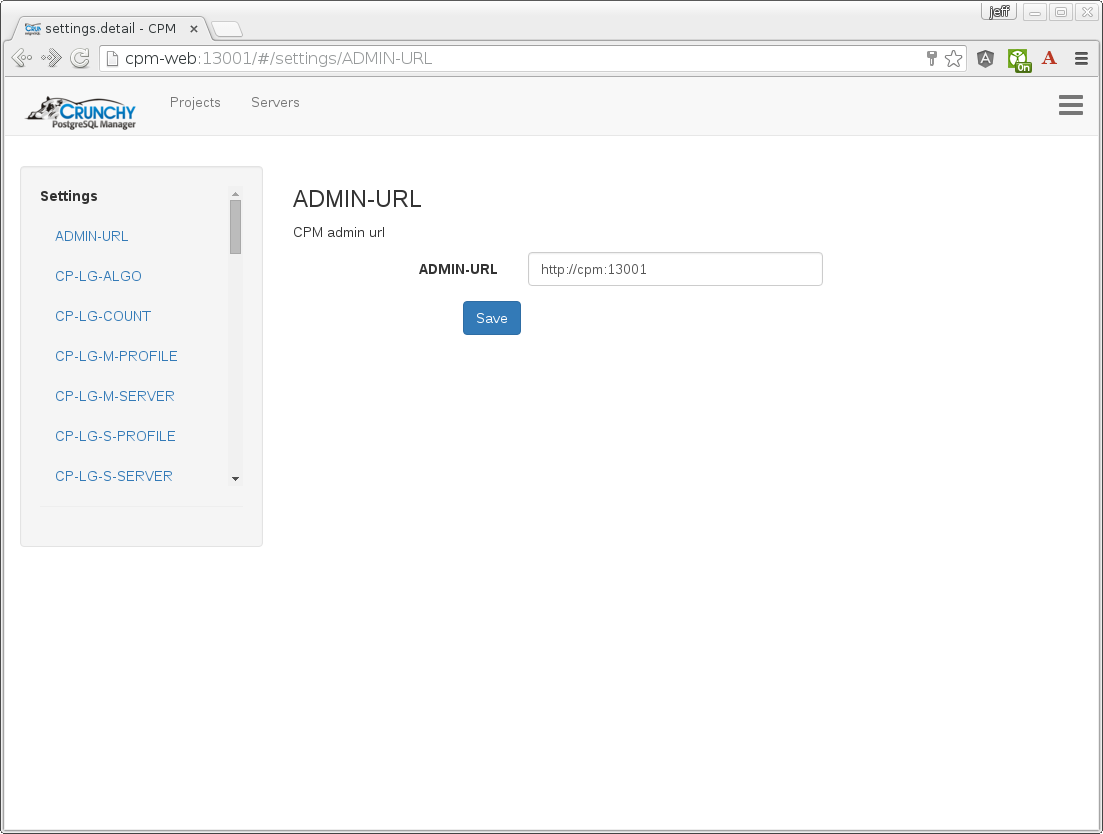
6. Settings
The Settings Drop Down menu lets CPM admins maintain the various configuration options within CPM.
The menu includes: * Logout - log out the user * About - links to CPM information and version number * Settings - simple CPM settings in key/value format * Users - add, delete, or change CPM users * Access Rules - add, delete, or change pg_hba.conf rules * Roles - add, delete, or change CPM user roles
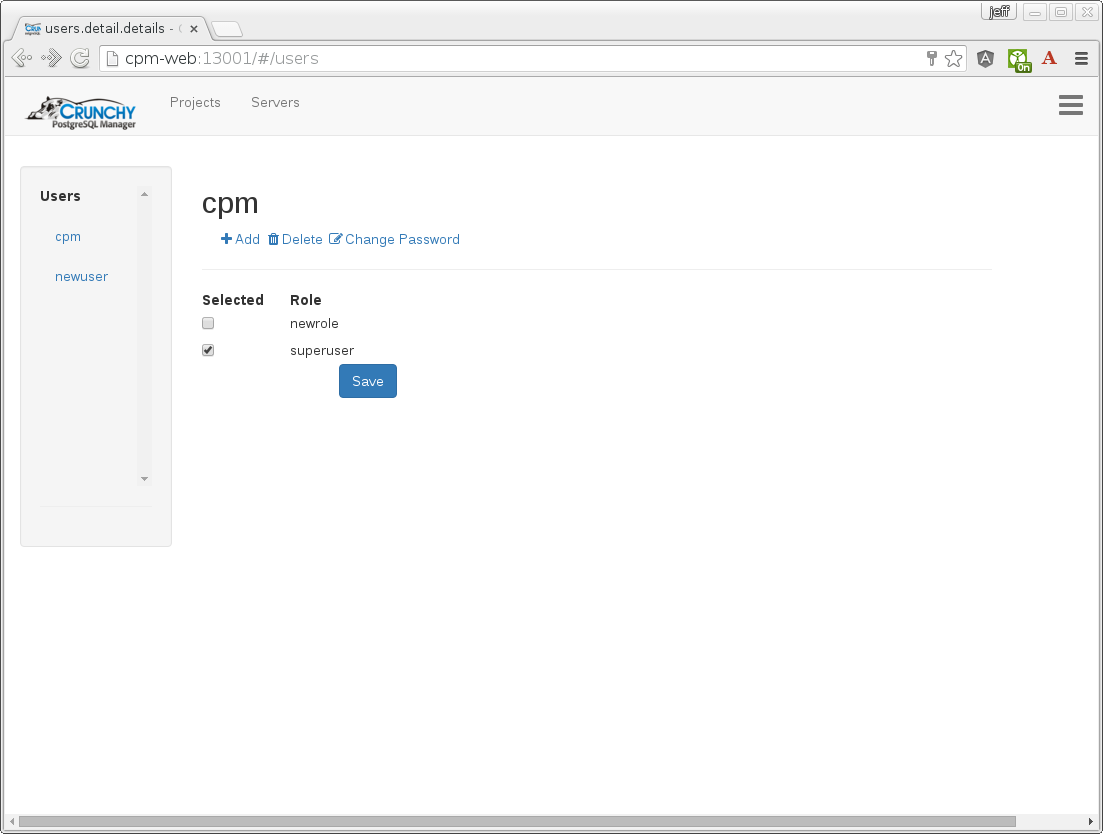
6.1. Settings - Users
From this screen you can create, delete, or change CPM users. Note that the cpm user is created by default. You pick the roles you want the user to have on this screen.
6.2. Settings - Roles
From this screen you can create, delete, or change CPM roles. Note that the list of permissions is fixed and that default roles have been created when CPM is installed.

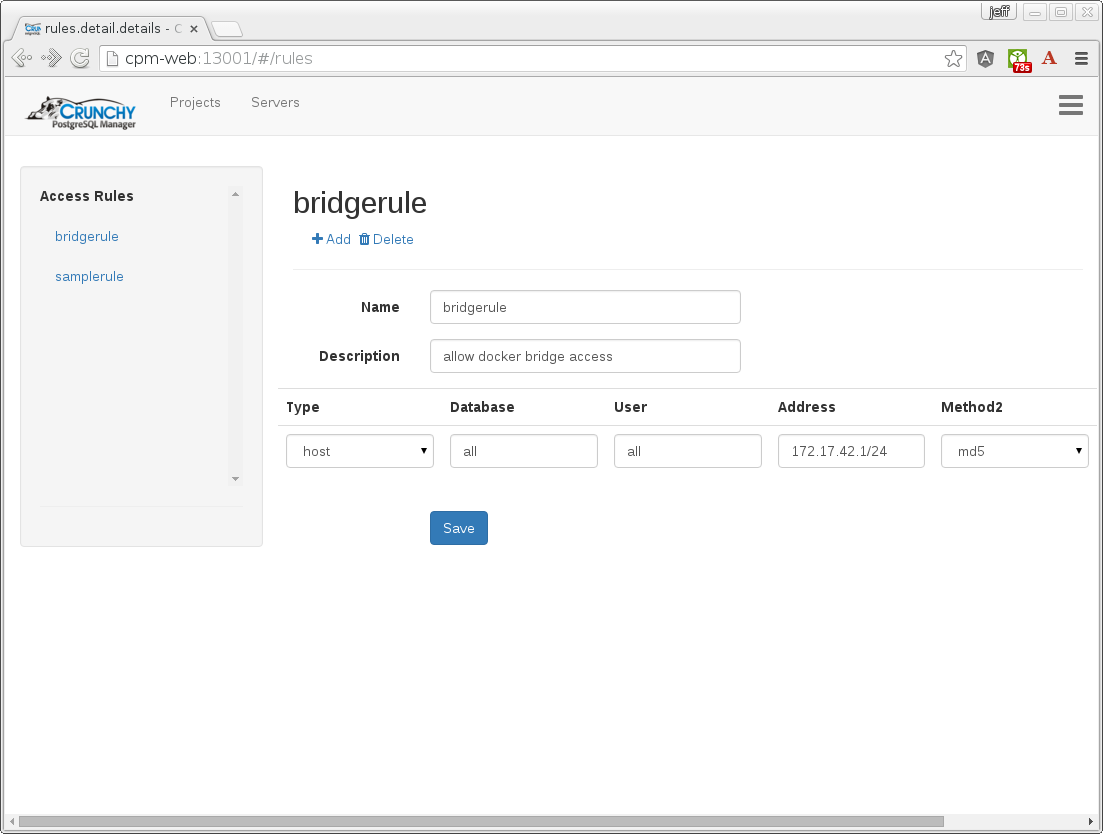
6.3. Settings - Access Rules
From this screen you can create, delete, or change CPM access rules which make their way into database containers pg_hba.conf configuration files. You can create a rule here once, then apply it to new database containers after they have been created.
7. Use Cases
7.1. Create Database
Follow these steps to create a new database:
-
navigate to the Project page
-
select the Project you want the database to belong to
-
click the Create Database link
-
enter a unique database name
-
select the Docker profile you want to use for the container sizing
-
click the Create button
You should see the database details page after the successful creation. Notice the status should be RUNNING. You will also see the server which Docker Swarm deployed the container upon listed. At this point you are ready to use the database.
7.2. Create Database Cluster
Follow these steps to create a new database cluster:
-
navigate to the Project page
-
select the Project you want the database to belong to
-
click the Create Cluster link
-
enter a unique cluster name
-
select the replication type of the cluster
-
select the Docker profile you want to use for the container sizing
-
click the Create button
-
navigate to the cluster from the Project-Cluster folder
This will cause slaves, a single master, and a single pgpool container(s) to be created.
From the Cluster detail screen, you can navigate to the master, slaves, or the pgpool instance.
7.3. Create Database Backup
To create a database backup, follow these steps:
-
navigate to the database detail page
-
click the Schedules link
-
click the + link to add a new backup schedule
-
fill out the Schedule form, do not select the Enabled button for a simple one-time backup
-
click the Create button to create the schedule
-
click the Schedule link of the newly created schedule
-
click the Execute Now link on the schedule to perform a one-time backup
-
click the History link on the schedules page
-
you should see either a completed or running schedule status line for the backup you performed
7.4. Restore Database Backup
To perform a restore of a backup, follow these steps:
-
navigate to the schedule backup history that you want to restore
-
click on the life preserver icon at the end of the history status line
-
fill out the name of the restore container name, a default value is supplied as well
-
click on the Restore button to start the restore job
-
navigate to the restore database container
-
refresh the web browser to reload the list of database containers presented in the tree
At this point you should have a restored database running in a unique container.