Modifying a Texture
In this article, we will modify the appearance of our texture.
This article assumes you have completed Drawing a Texture.
Let's get started.
Understanding a Texture's Origin
First, let's discuss what a texture's origin is.
The origin of a texture can be thought of as the texture's pivot point.
If we were to change the rotation of the texture, it would rotate around the texture's (0,0) point.
This is because the origin is at (0,0).
If we centered the origin to the texture, then the texture would rotate "in place" around that center point.
But wait, there's more.
The origin also determines how the position value is applied to the texture.
The texture will be drawn at the position, but with the origin's offset.
Think of it like this: texturePosition = position - origin.
In order to better understand this, let's set the origin to the center of the texture in LoadContent().
Now if you build the project, you'll see that the texture is being drawn centered to the position value of (0,0).
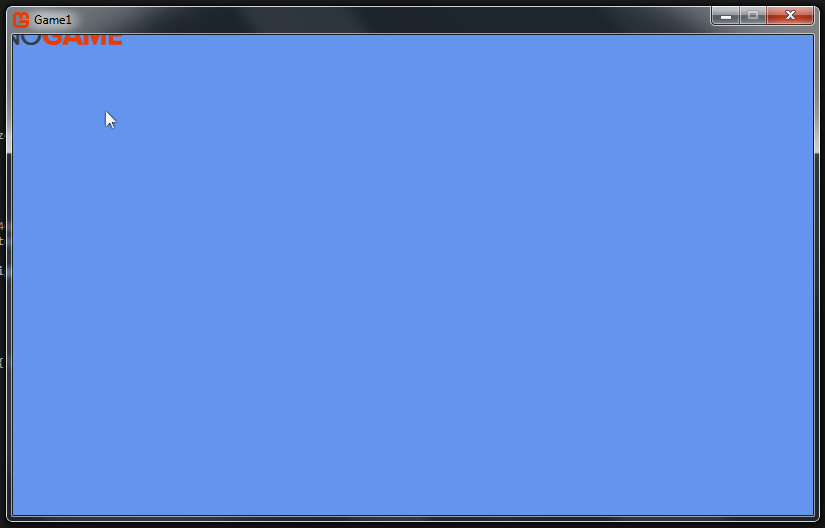
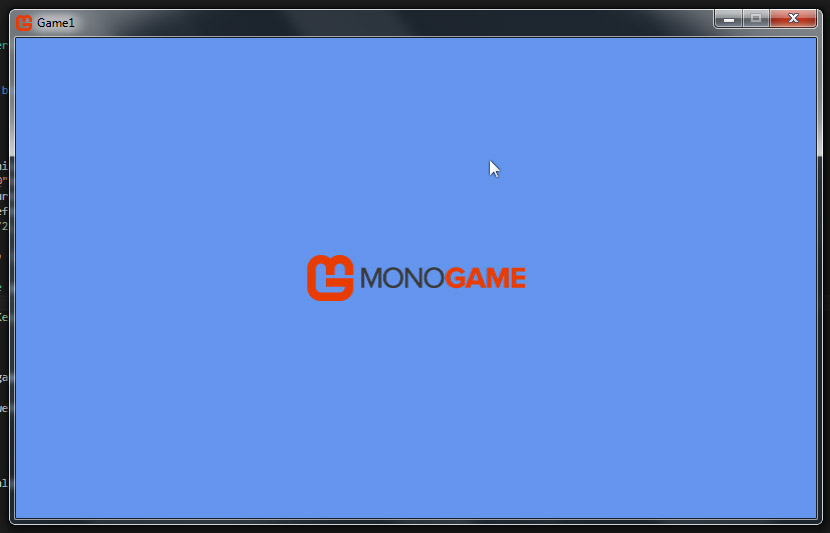
That looks pretty bad, so let's change it. Update your LoadContent() method to center the texture to the game's window.
graphics.PreferredBackBufferWidth refers to the width of the game's window.
graphics.PreferredBackBufferHeight refers to the height of the game's window.
You can also get the game's window size from Game.Window.ClientBounds.Width and Game.Window.ClientBounds.Height.
We simply divide these values in half to calculate the center point of the game window.
Now build your game. Your window should look like the image below.
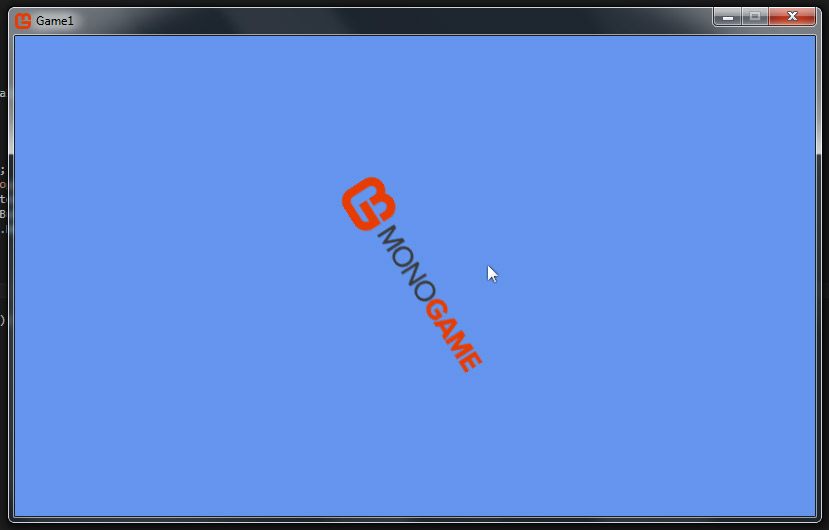
Changing a Texture's Rotation
Here we changed the rotation value from 0.0 to 1.0. This float value represents the amount of Radians to apply to the texture. A positive value is clockwise. A negative value is counter-clockwise. The image below shows the results of modifying this rotation value.
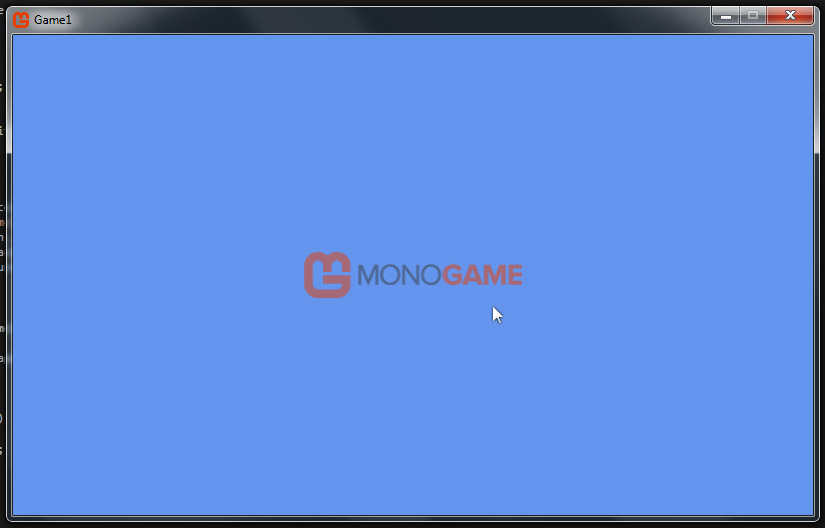
Changing a Texture's Opacity
Here we change the alpha value from 1.0 to 0.5. This means our texture will draw at 50% opacity, making it semi-transparent. The image below shows the results of modifying this alpha value.
Changing a Texture's Scale
Here we change the scale value from 1.0 to 2.0. This means our texture will draw at 200% size. A value less than 1.0 would scale the texture down. Note that this scale is applied from the origin point, so our texture stays centered to the game window The image below shows the results of modifying this scale value.

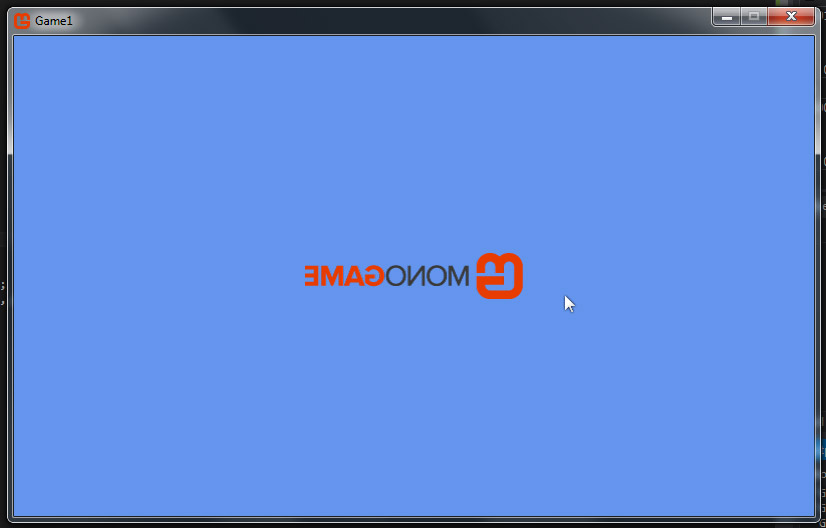
Changing a Texture's SpriteEffect
Here we change the spriteEffect enumerator value from SpriteEffects.None to SpriteEffects.FlipHorizontally. This means our texture will be drawn horizontally flipped, or mirrored. We could also change SpriteEffects.None to SpriteEffects.FlipVertically. That would draw our texture flipped vertically. The image below shows the results of modifying the SpriteEffects value.
Summary
You should now understand a texture's origin, position, rotation, alpha, scale, and SpriteEffects values.